All, Pro Homebrewer
All Grains Brewing!
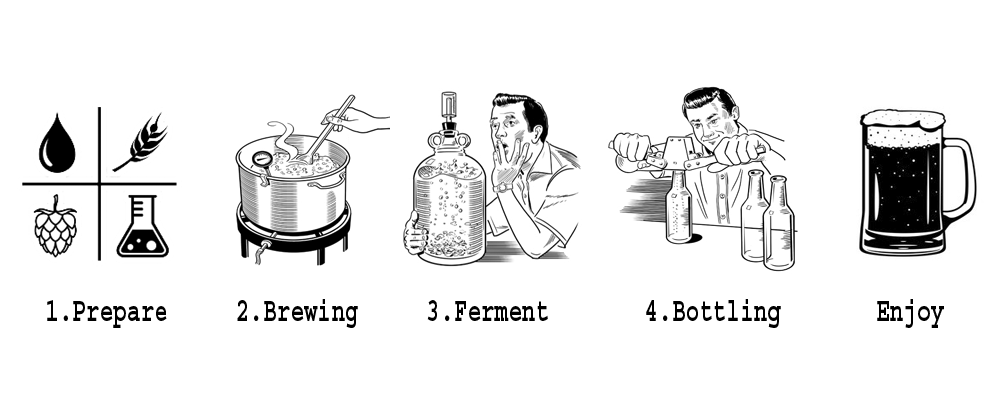
How to Brew – in 4 simple steps!
Brewing your beer might seem like a difficult thing to do. Fear not, Krome Brew is here with an easy to follow step-by-step guide to kickstart your brewing passion.
That’s right! 4 steps to enjoying the beer you make yourself. Let’s dive in.
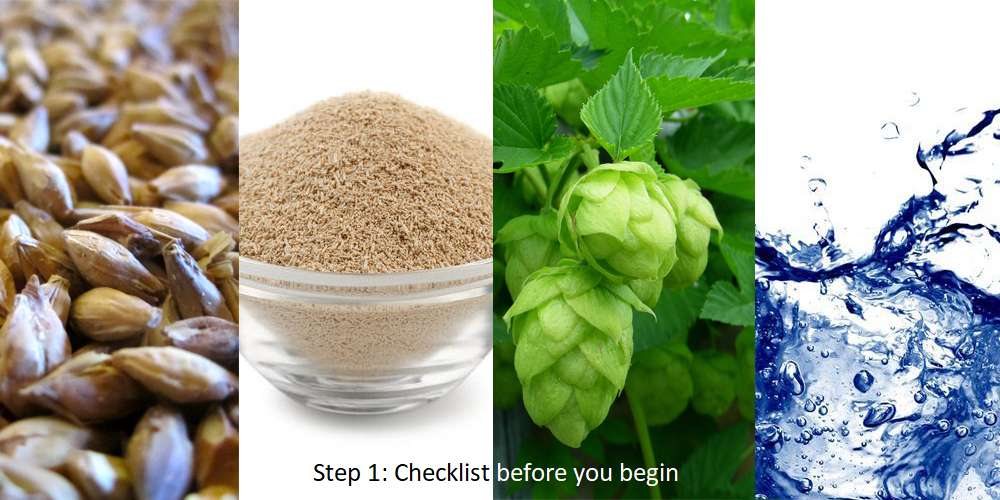
Step 1: Checklist before you begin
Put all your Brewing tools together. You should have the following:
- Large vessel for boiling, also called brew kettle/boiling pot
- Fermenter with Airlock
- Auto-siphon for bottling
- Brew spoon
- Sanitizer
- Individual ingredients or Ingredients kit according to your recipe
Simpler yet, just get one of Krome Brew’s beer making kits and it’ll have everything you’ll need – equipment + ingredients.
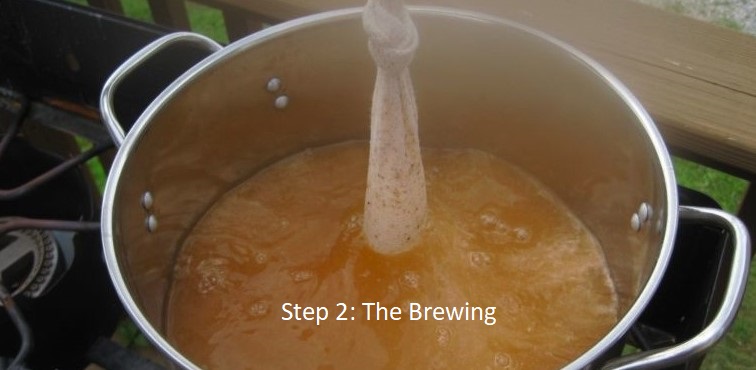
Step 2: The Brewing
1. Steeping grains – Fill half your brewing kettle with water (for a 19 litre (~5 Gallon) boiling vessel, use 9.5 litres of water). Place the grain bag inside the water as you heat it. Let the grains steep for 20 mins or till the water is heated to 170 degree Celsius.
Lift the bag from the kettle and remove it when most of the water drains out of it naturally. Do not squeeze the bag. This will release unwanted tannins.
2. Boil the solution in the kettle – Once it comes to a rolling boil, take the kettle off the burner to add the malt extracts. Mix to dissolve the extracts well and place it back to boil.
Next step is to add the Hops. Check the recipe to know when to add them exactly and for how long you’ll need to boil it.
3. Your wort is now ready! Cool it down fast, using one of the two ways given here:
- Place the kettle/pot in a sink filled with ice cubes + cold water (An ice bath)
- With a wort chiller. Place the cooling coil inside the kettle and attach the inlet to a running cold water tap. Let the outlet drain into the sink. This quickly removes the heat from the wort.
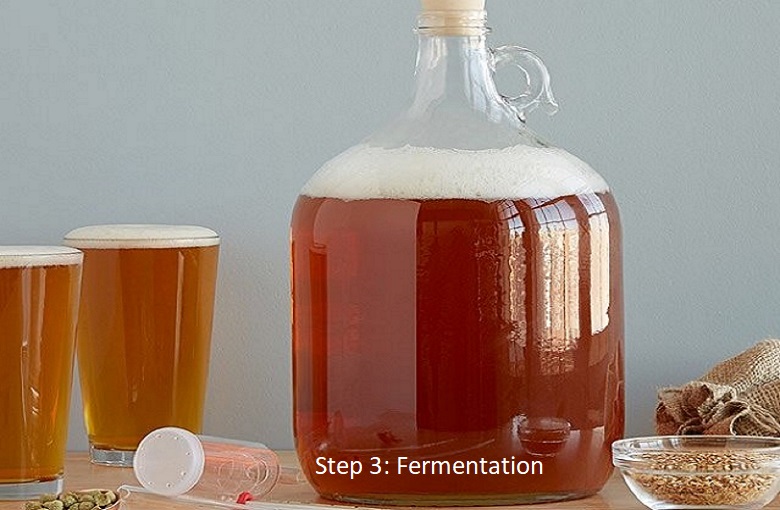
Step 3: Fermentation
Clean and sanitize everything you use from this step onwards to avoid contaminating and spoiling your brew batch.
1. Transfer the cooled down wort into the fermenter.
2. Add enough water to bring the level to about 19 litres.
3. Splash or stir the wort inside the container. This allows oxygen to mix well which is needed by the yeast.
4. Now, add the yeast to the fermenter. Dry yeast (in powdered form) is the easiest to use. Sanitize both the pack and the scissors you’ll use and empty the contents into the wort.
5. Seal the fermenter with a stopper and insert an airlock over it. Keep the fermenter in a cool dark place and don’t move it till the fermentation is complete. Also check that the recommended temperature for the beer you are brewing is maintained.
Read more about Beer Fermentation.
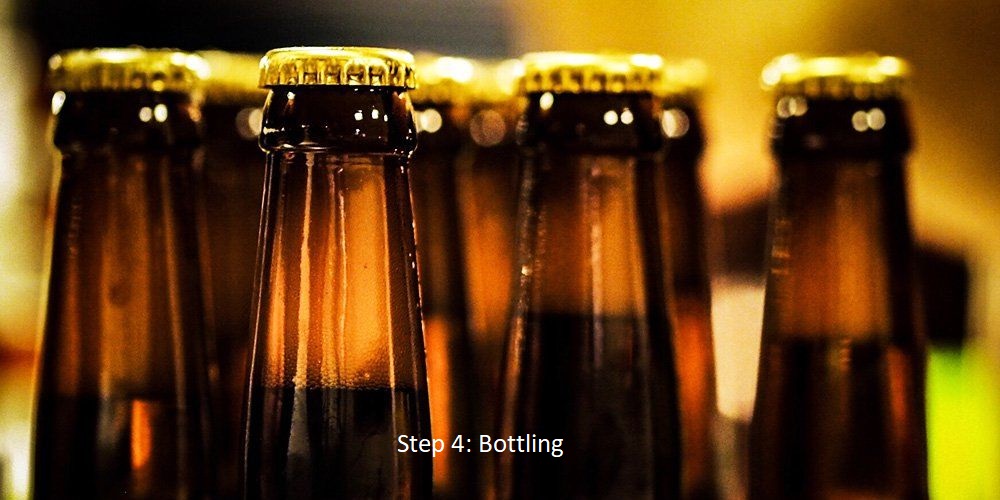
Step 4: Bottling
Fermentation takes about two weeks to complete. After this, you can move to the next step which is – Bottling.
1. Sanitize and keep ready – bottles, caps, bottler filler, transfer hoses, buckets – everything you’ll use here.
2. Boil the priming sugar in 500ml of water and prepare the solution. Let it cool down and then add to the bottling bucket directly.
3. Use the auto siphon and transfer the beer from the fermenter to the bucket. Leave the sediment in the fermenter itself.
4. To fill the bottles, connect one end of the transfer tube to the bottle filler and the other end to the bottling bucket’s tap. Open the tap and press the filler tip against the bottom of the bottle. This will start the beer flow into the bottle.
Once the bottle is filled to the top, remove the filler and move to the next bottle and repeat the process.
5. Seal the bottles with caps using a bottle capper.
6. Keep the bottles away in a dark place for another two weeks. This will carbonate the beer or make it fizzy.
There it is! The beer is ready. Just refrigerate and enjoy a fresh bottle of your own brewed beer.

