- Details
- Instructions
- Reviews (0)
Basic Homebrew Bottling Kit
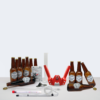
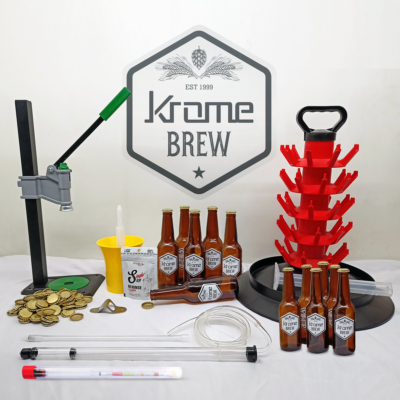
Want to enjoy your fresh and chilled Beer after brewing, what are you waiting for? There is a last and major step after the fermenting Process and before you enjoying your handcrafted beer is bottling the fresh beer. Rather than looking for every Bottling Equipment separately, you have to look into Krome Brew’s Basic Homebrew Bottling Kit. Perfect to complete your Beer Bottling Process without any obstruction.
What does this Botting kit include?
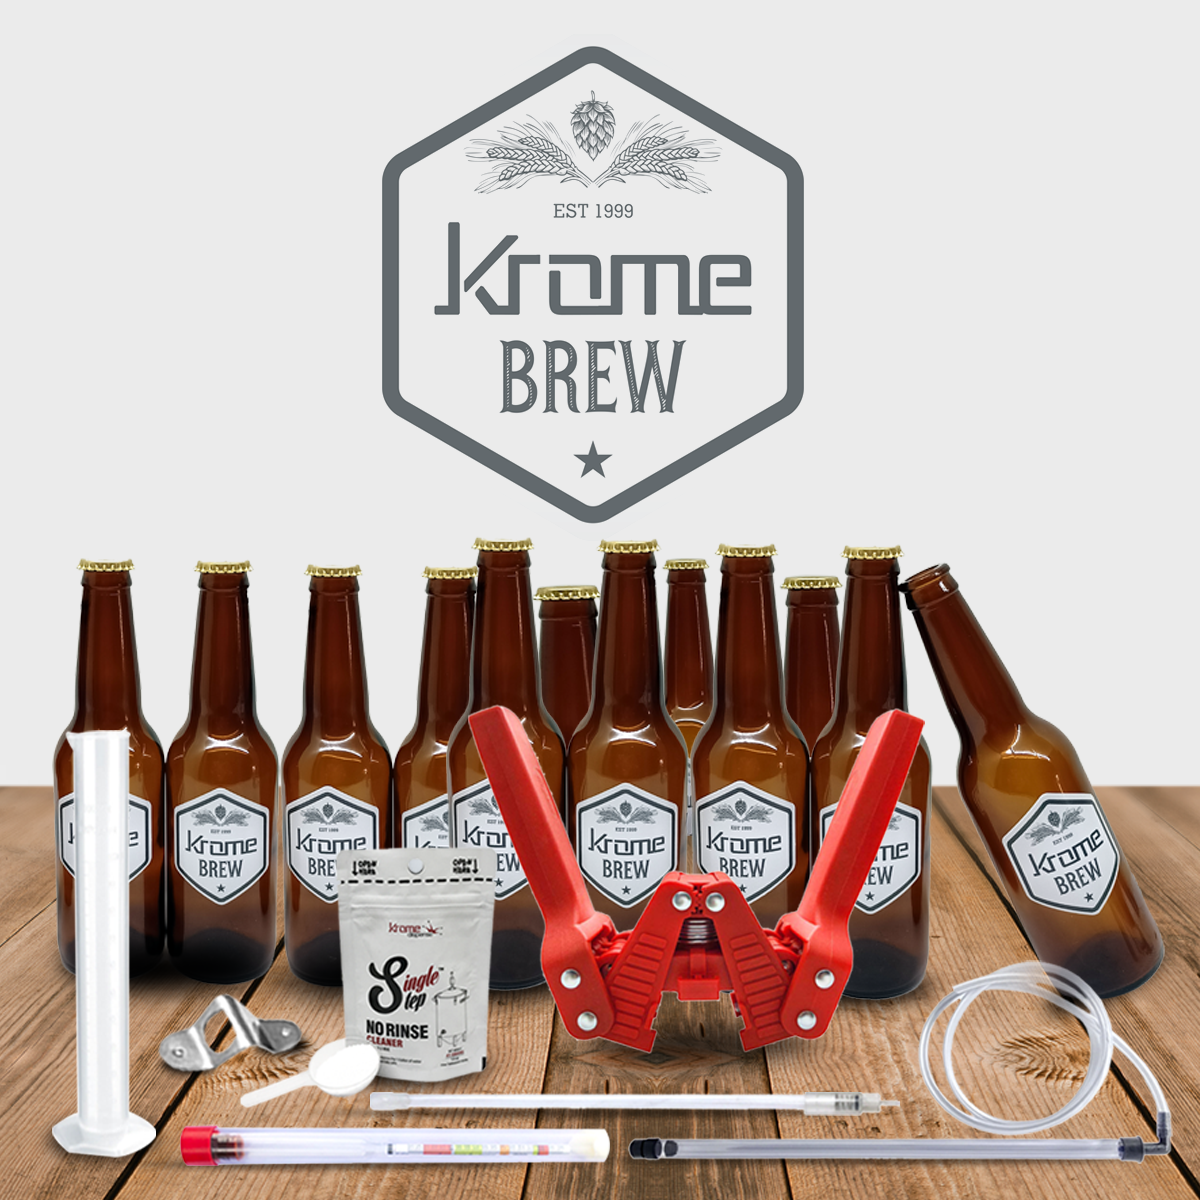
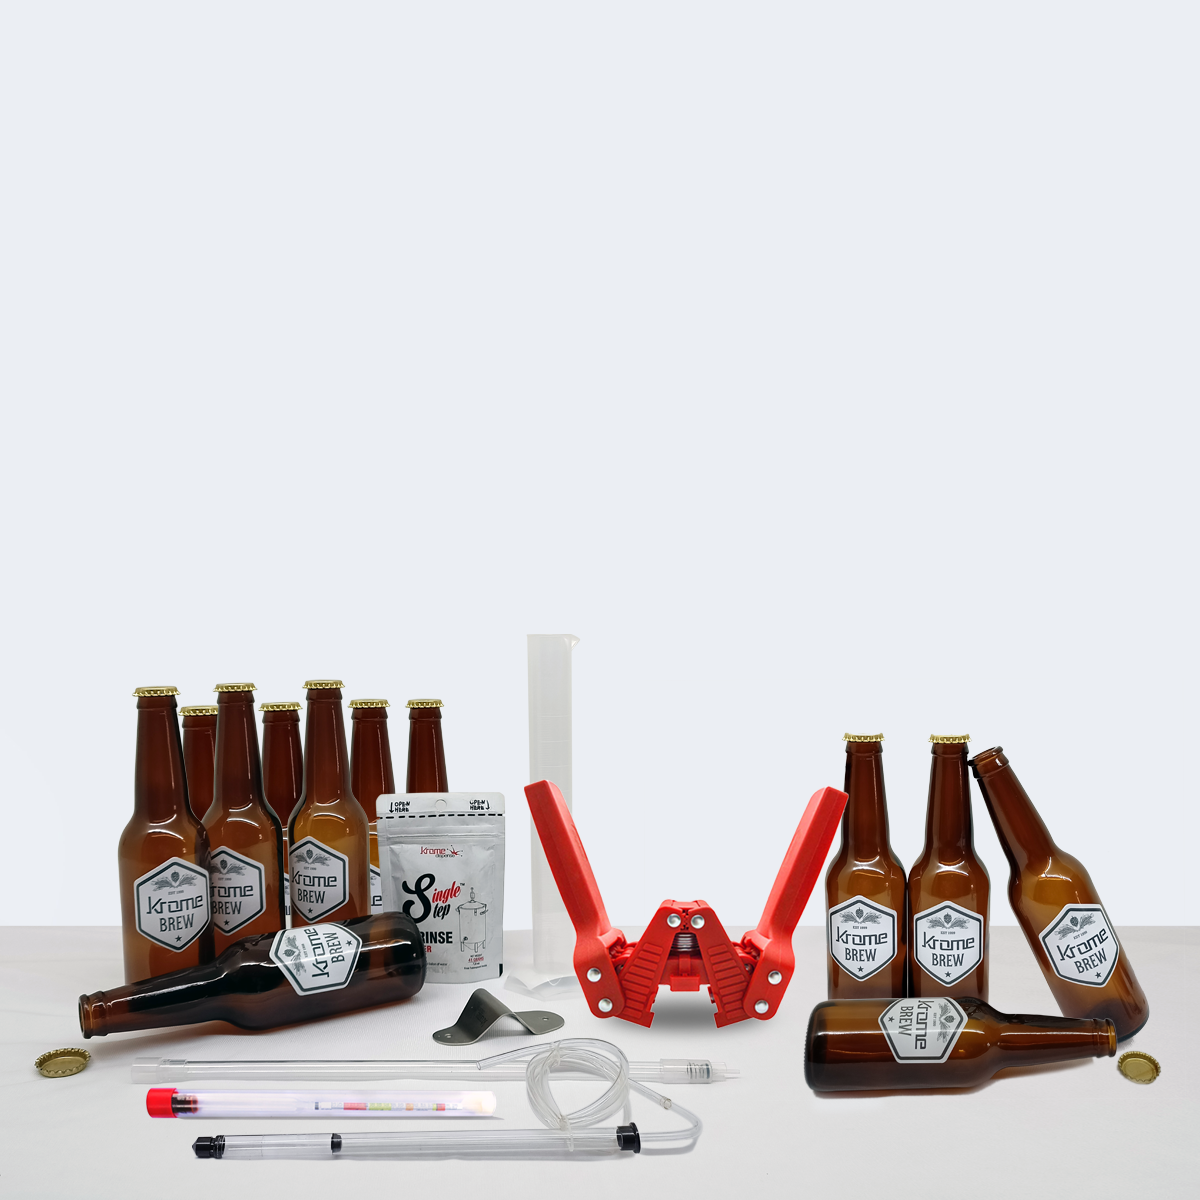
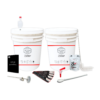
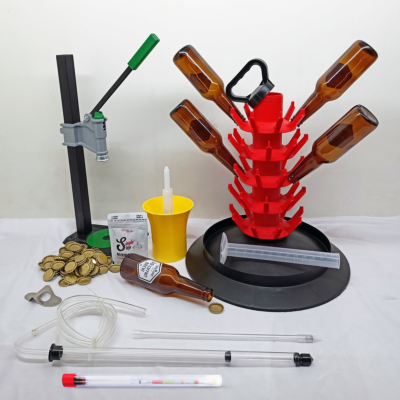
Krome brew offers you the Best Basic Beer Homebrew bottling kit which includes all the necessary botting and capping Equipment. Which you need to be completed the botting process with perfection. Moreover, parts are made with food-grade plastic.
Its Includes:
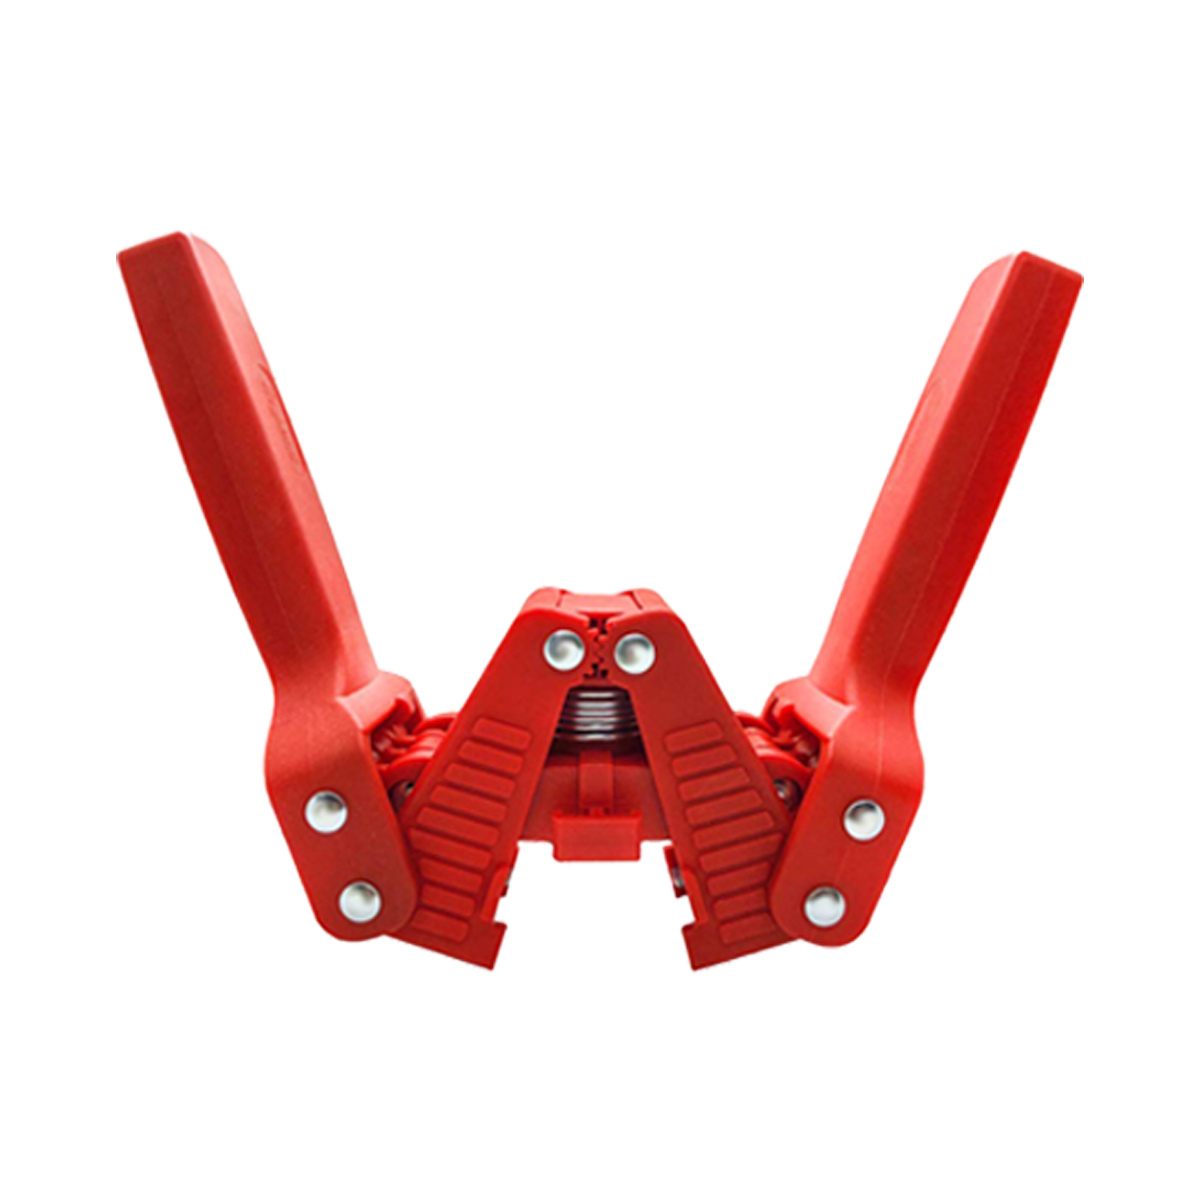
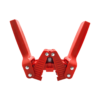
- Manual Beer Bottling capper (1): In beer botting naturally, you’ll need a capper; that’s why we have added manual cappers that are easy to operate and economical, even for the lowest budget.
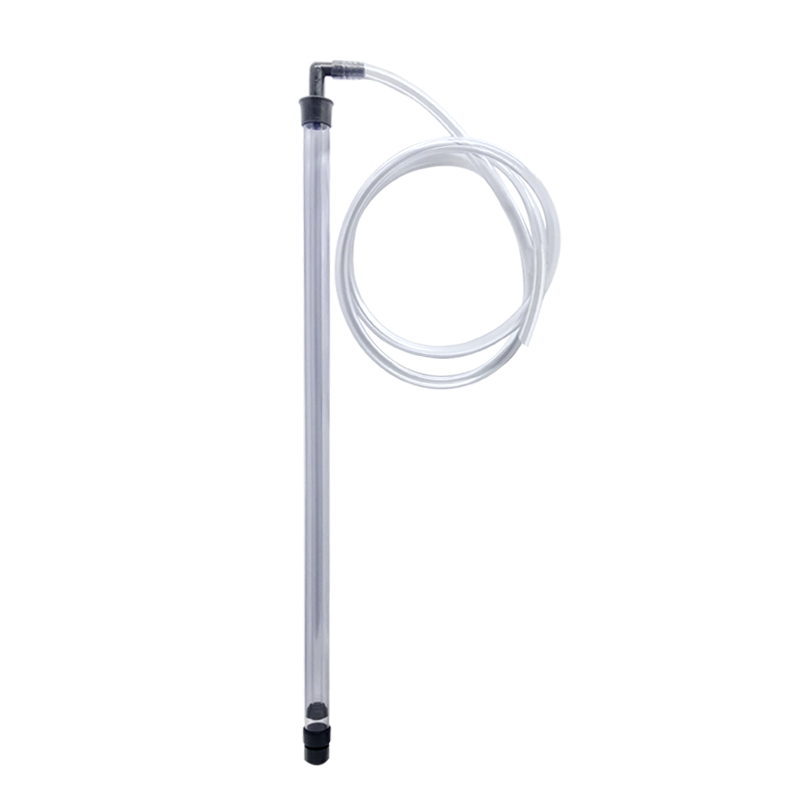
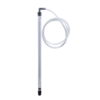
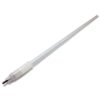
- Auto siphon – 3/8″ – With 45cm Tubing (1): It includes Auto siphon, which allows for easy transfer of your beer into the bottle. This Auto siphon – 3/8″ pump starts a siphon with a single stroke in as little as an inch of liquid. This eliminates siphoning woes and makes it easier and faster to transfer wort, beer, and wine.
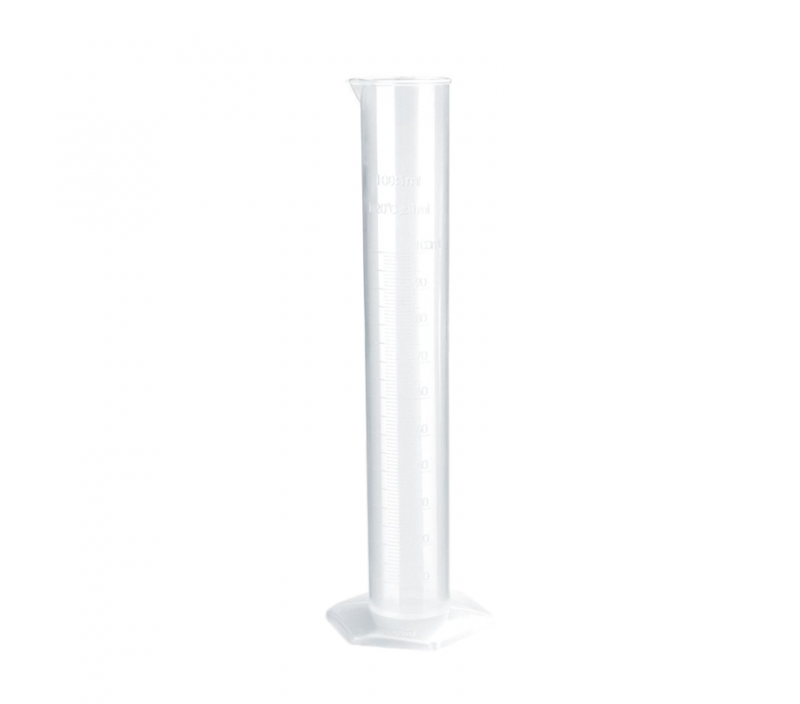
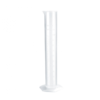
- 250ml Plastic Hydrometer Test Jar (1): Of course it has a testing jar measuring cylinder too. Plastic Hydrometer Test Jar Measuring Cylinder for Beer comes in very handy to take hydrometer readings. Know when your beer is completely fermented and ready!
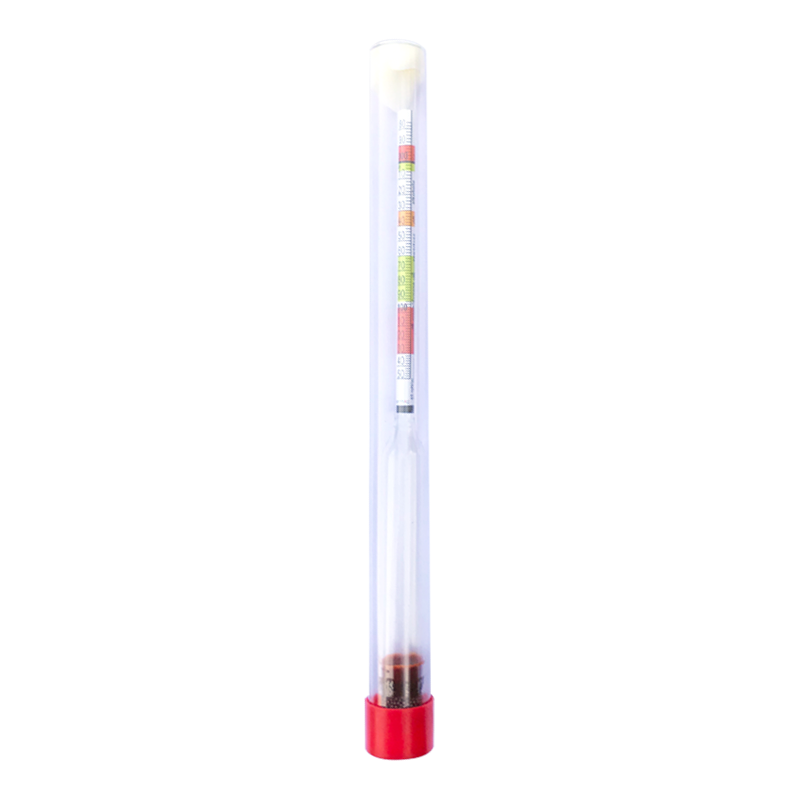
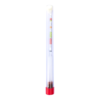
- Triple Scale Hydrometer (1): Our Triple Scale Hydrometer allows you to read your gravity, potential alcohol content, and Brix. Used it at every stage of brew to keep up with the health and progress of your brew.
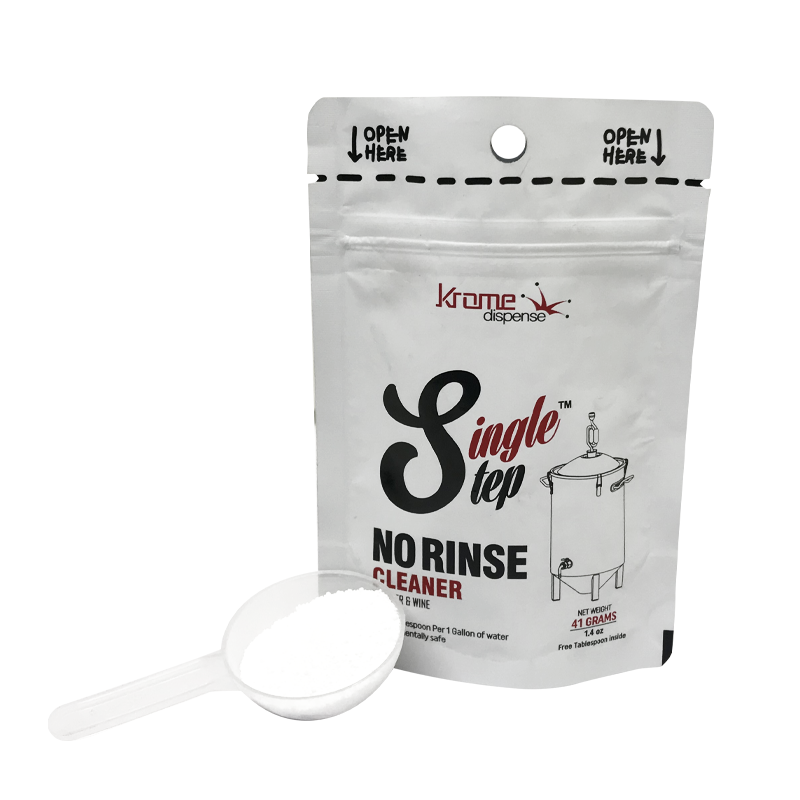
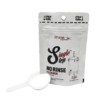
- Single step Cleanser (41 gram) (1): Cleaning of equipment is most important So, in this Homebrew bottling Kit we have added Single step Cleanser (41 gram), It is a no-rinse cleanser for thorough cleaning in just a single step. you can use it with fermenters, bottles, or other brew equipment. No need to rinse afterward either!
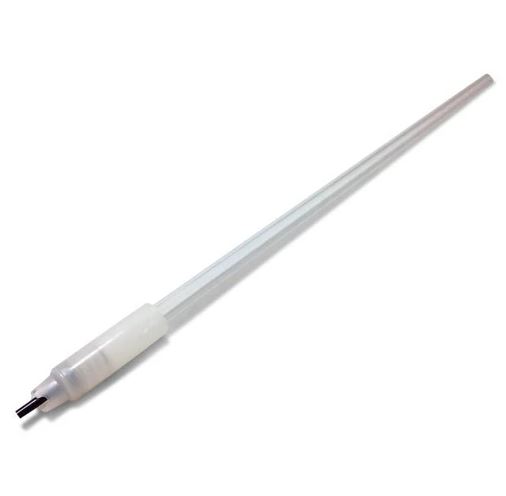
- Plastic Bottle Filler with Spring Tip (1): Moreover, it contains a Plastic Bottle Filler with Spring Tip made of durable plastic. Kromebrew’s Plastic Bottle Filler with Spring Tip makes filling beer and wine bottles easy. Press the tip to the bottom and observe the beer rise through the stem and into the bottle. Pull the Plastic Bottle Filler to stop flow and leave adequate headspace.
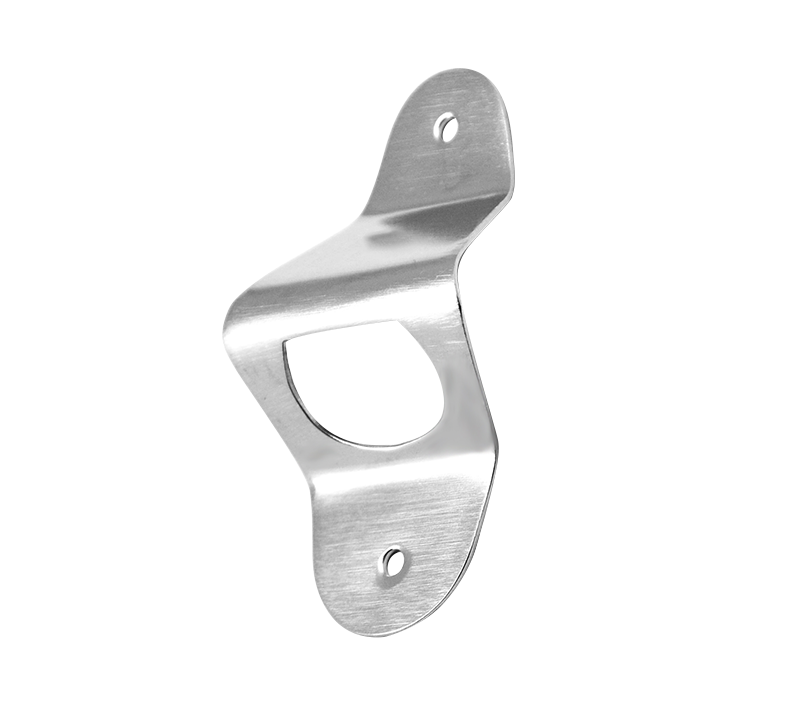
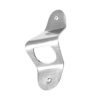
- Complimentary Wall Mount Bottle Opener (1): Furthermore, the kit has complimentary products for you, a durable beer bottle opener in wall mounting style for you. Keep this Stainless steel bottle cap opener handy for beer and cold drinks. Install it on the wall near the chiller and you will never have to look for it or lose it.
Be the first to review “Basic Homebrew Bottling Kit” Cancel reply
You must be logged in to post a review.
Instructions Basic Homebrew Bottling Kit
Includes the following:
- Single step cleanser
- Triple scale hydrometer
- Hydrometer test jar
- Auto-siphon
- Bottle filler with spring tip
- Beer bottle capper
- Wall mount Bottle opener
Instructions:
- Check that the fermentation process is complete using the Hydrometer and the test jar.
- Take a small beer sample into the 100ml Plastic test jar and dip the Triple scale hydrometer into it. Note the reading – call it FG. (You should have already taken the initial reading in the same way – call it OG).
- Calculate the Alcohol percentage with this formula: (O.G. – F. G.) X 131.25 = % ABV
If the ABV is in the range mentioned in your recipe, then the fermentation is complete and you can now proceed with bottling. - Prepare a sanitizing solution with the Single step rinser. Mix the entire packet of the rinser in 7.5 litres of warm water. Sanitize all equipment you will use for bottling by soaking them in this liquid for 2 minutes.
- Insert the auto-siphon into the fermented brew. Attach the other end of the hose to the bottle filler.
- Pump the auto-siphon inner tube from the top to start siphoning. You’ll see the beer filling up into the tube and the bottle filler.
- Press the bottle filler spring tip against the bottom of an empty beer bottle. Allow the bottle to fill to the mouth.
- Remove the filler and move to the next bottle and repeat step 5.
- Repeat steps 5 & 6 and fill all your bottles.
- Place the cap over the bottle mouth and press the capper handles to crimp the cap and seal the bottle. Do this with all bottles.
- Mount the bottle opener on the wall near your bar/refrigerator using two screws. This way, you’ll never need to search for a bottle opener again.
Reviews
There are no reviews yet.